Coming soon: Install from the Teams App Store
We are currently in the process of getting Garba reviewed and published on the Microsoft Teams App Store (AppSource). Once approved, you’ll be able to install Garba directly from the Teams app catalog — no zip file needed. Until then, follow the manual steps below.
Once you’ve connected Microsoft Teams in Garba (admin consent), the next step is to install the Garba bot into your Teams environment. This guide is for Microsoft Teams administrators.
Microsoft Teams admin role
The Garba app package (garba-for-microsoft-teams.zip) — request from your account manager, email [email protected], or use the chat widget inside Garba (click the chat icon in the bottom-right corner)
You can request the app package in any of the following ways:
Contact your Garba account manager
Email [email protected]
Use the chat widget inside Garba — click the chat icon in the bottom-right corner and ask for the package
You will receive garba-for-microsoft-teams.zip. Do not extract the file.
Follow these steps to upload the app package to your Microsoft Teams environment:
Go to Teams apps > Manage apps
Click Actions > "Upload new app" > "Upload"
Select the garba-for-microsoft-teams.zip file
The app will appear under "Built for your org"
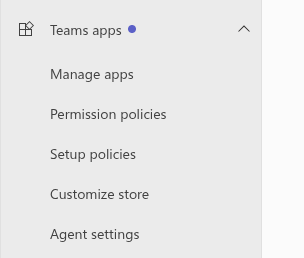
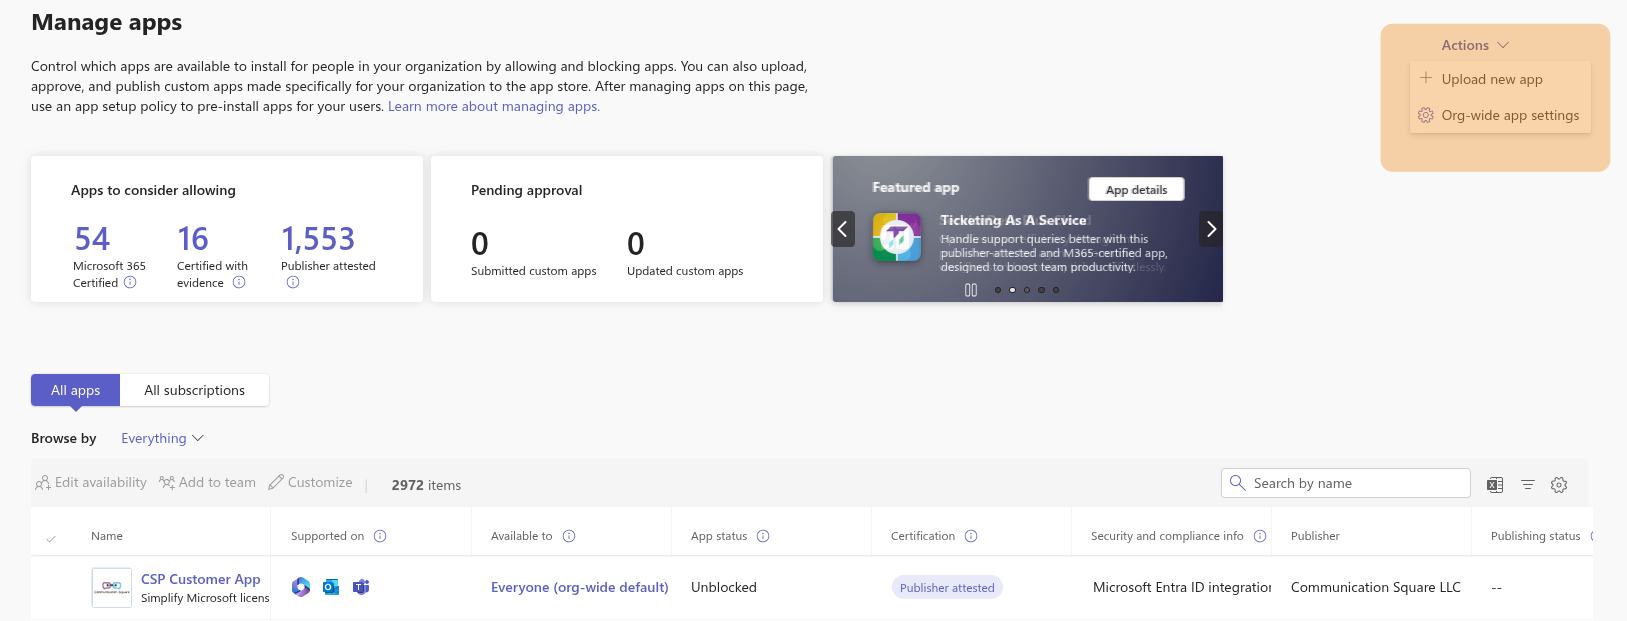
After uploading, install the bot into the team where you want Garba to be active:
Open Microsoft Teams
Go to the team where you want Garba
Click “+” or go to Apps and search for “Garba” under “Built for your org”
Click Add or Add to a team
Select the team and confirm
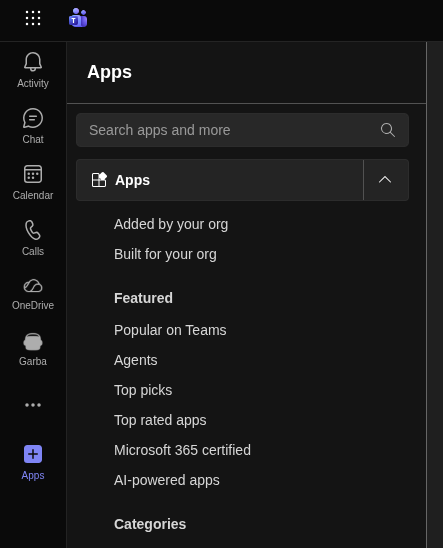
Once the bot is installed in a team, Garba will automatically set up the integration:
Garba automatically discovers all standard channels in the team
DM references are created for team members who have Garba accounts
The bot is ready to receive @mentions in channels and DMs
Private and shared channels are not registered automatically
You can verify the installation by going to Settings > Account Integrations in Garba — the channel and chat counts should update.
To reach Account Integrations: click the settings icon (⚙) at the bottom of the left sidebar, then under Account click Integrations.
"Upload custom apps" must be enabled in your Teams admin policies
Some organisations block custom or third-party apps — check with your IT team if the upload option is unavailable
If the app does not appear after upload, try refreshing the Teams Admin Center page
If channel counts do not update in Garba, the bot may not have been installed in any team yet
